Plotting on Jackson Cubes
– Feb. 29, 2024
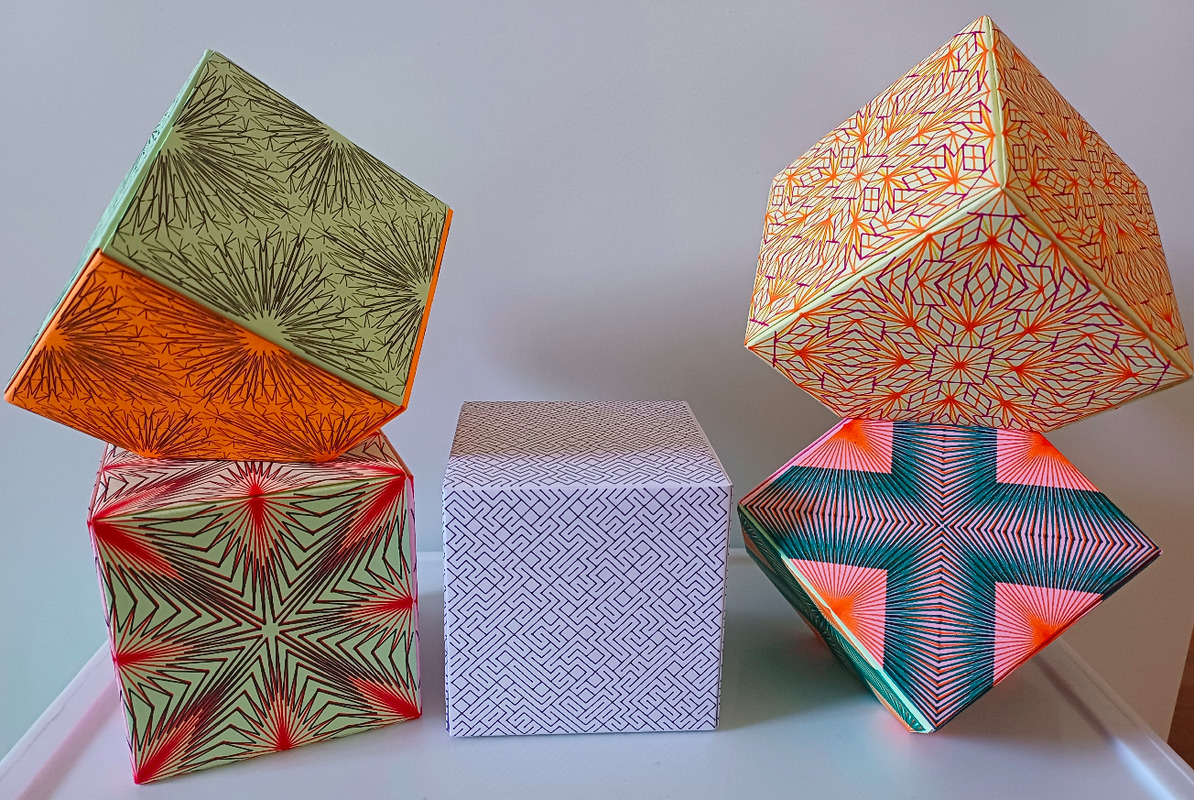
A simple way to turn flat paper into 3d cubes, is using a folding technique invented by Paul Jackson. In this video on YouTube, he demonstrates it himself.
When using the inverted corner technique, you can make nice towers of interlocking cubes, which is also explained in the video linked above.
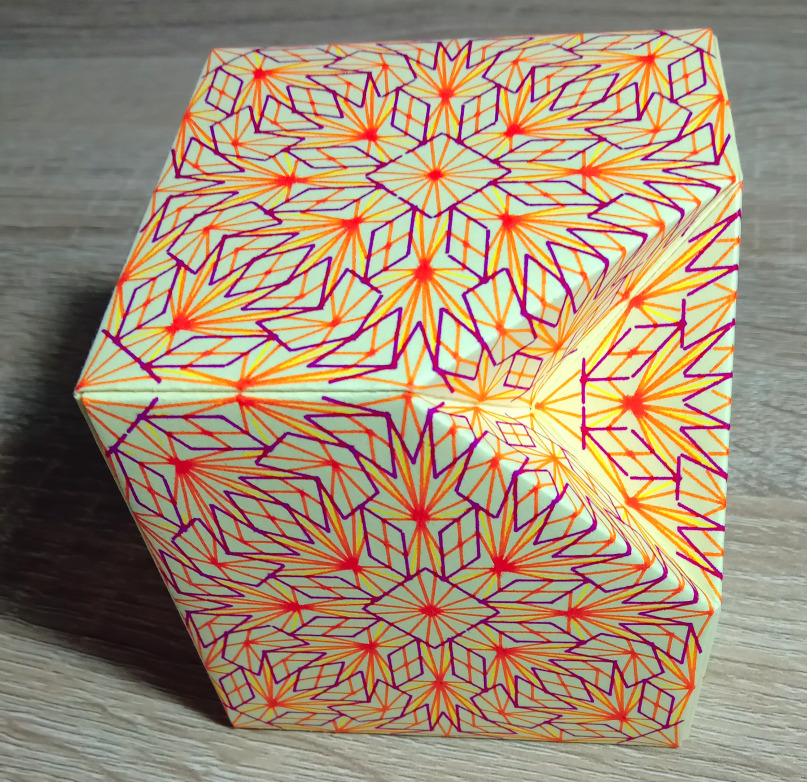 An inverted corner
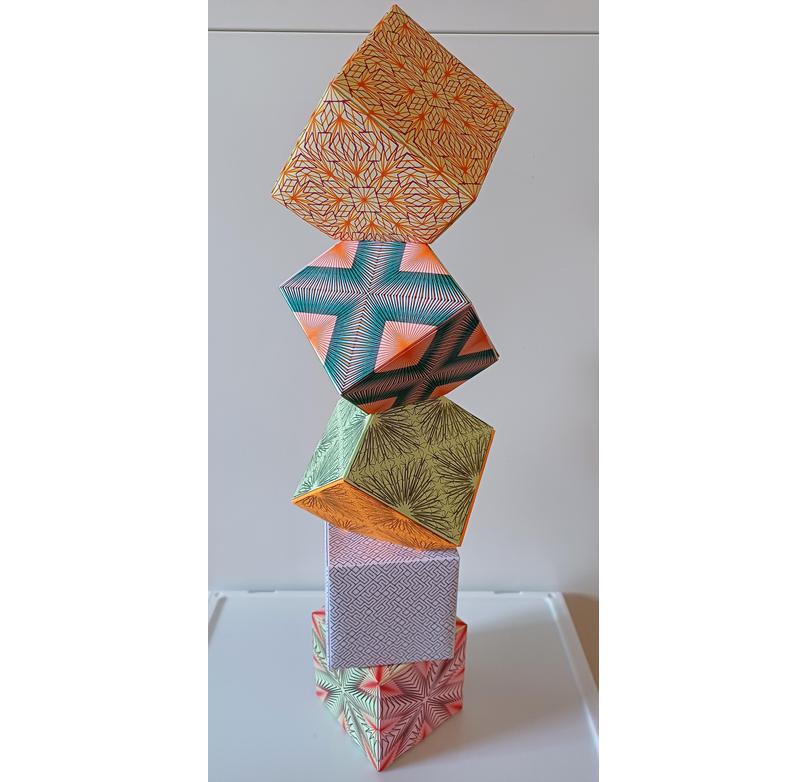
This article will present a few ways to draw interesting patterns on origami paper, or on a regular A4 sheet. In case you don't have a pen plotter, you can simply print the patterns with a regular printer. You could even do it all manually using a pencil and ruler.
10 print pattern using a plotter
The first pattern I suggest is '10 PRINT', which is a reference to a pattern that could be made from the command line on early computers, using only two text characters: / (slash) and \ (backslash).
It is one of the shortest programs that generates endless interesting results.
A good demonstration can be seen in this video.
The actual code is 10 PRINT CHR$(205.5+RND(1)); : GOTO 10.
For plotting, I am not using this original method of printing characters. Instead I draw diagonal lines, which gives the same result.
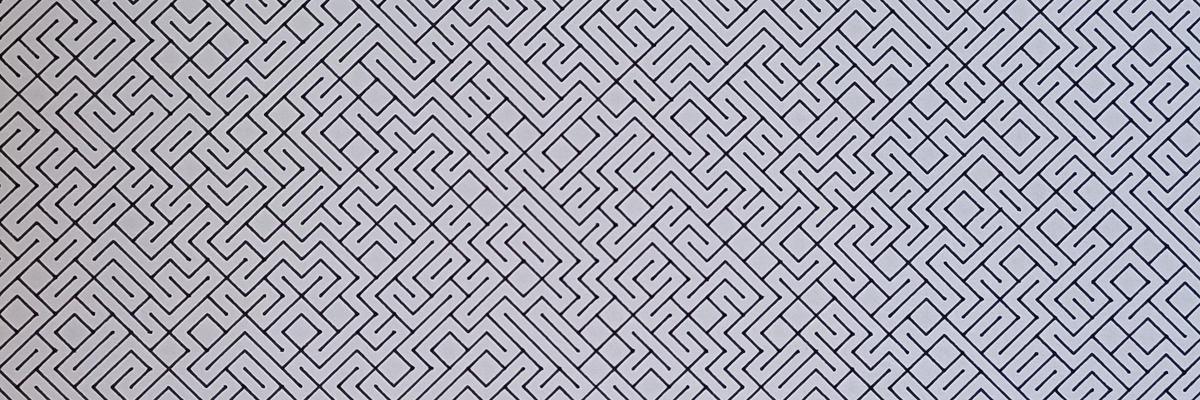
Random variations of 10 print can be generated on this web page. There is the option to select A4 paper or origami paper. This is actually a toggle between using a square ratio for paper side lengths, and ratio 1:√2 for the A4 format. You can change the paper width, which is in millimeters, to match the paper you want to use. The default is 150 mm / 15 cm for origami, and 210 mm for A4 (short side). Using 297 mm as the paper width would mimick A3 format. Every time you click the 'generate' button, a new random variation will be generated. 'Download SVG' will save an SVG file that can be used to plot or print.

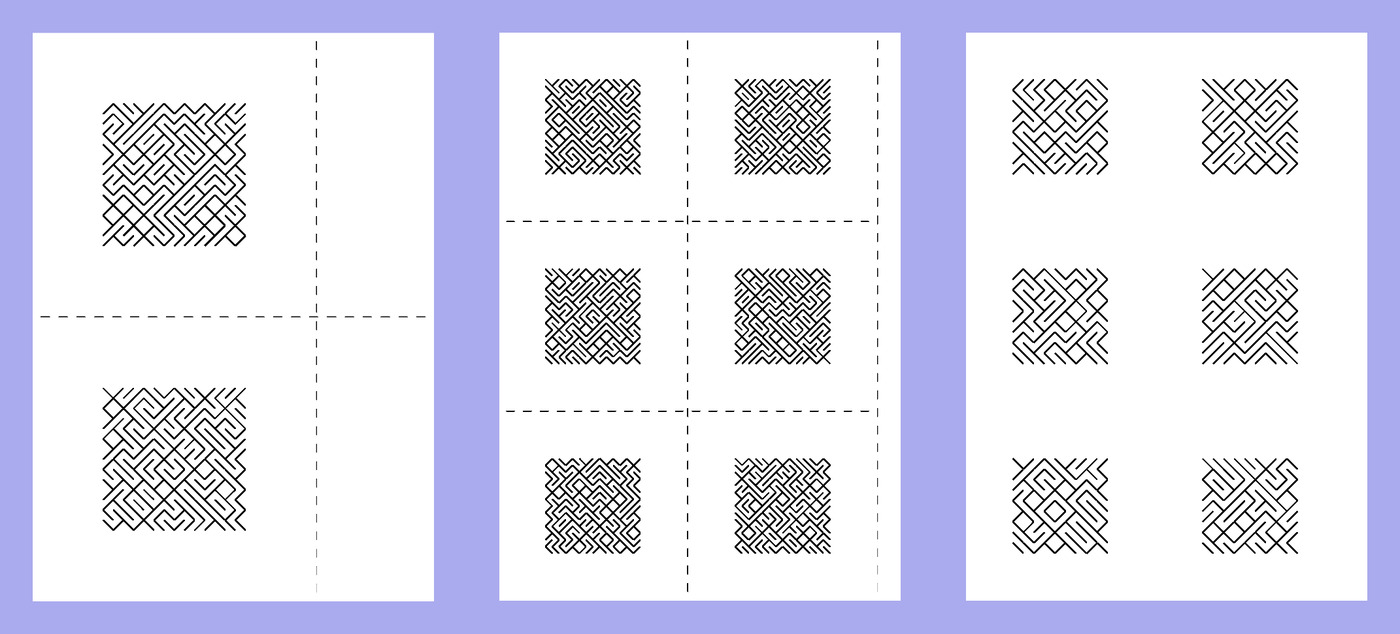
Another option you can select is the 'mode'. The 'square' mode is designed for the Jackson Cubes on origami paper, so that the pattern will be drawn in a square in the center, and the blank area around it will be the flaps when folding the cube. See the leftmost image above.
Choosing 'fill' (center image above) will simply fill the entire paper with the 10 print pattern, with the exception of a small margin near the edges of the paper.
'Two Squares' and 'Six Squares' are designed to plot several faces on a single sheet of A4 paper. When using '6 squares', you can plot all sides of the cube on a single sheet of paper, which is the easiest way to get an entire cube done. The resulting cube will have side lengths of just under 5 cm (one sixth of the 297 mm A4 paper height). You can check the option 'cut lines' to also draw the lines where you can cut the paper.
'Items per row' is the number of diagonal lines (slashes) that are drawn on a single row, so you can choose very calm or very busy variations. (Increase this value in small steps to see how it behaves. Since the entire plotting path will be generated and saved in memory, this will slow down your browser for large values)
Finally, checking 'dots only' will simply draw an empty grid, with just dots on every corner point. You can use this in case you like to create this pattern manually, for example using a coin toss (or dice roll). This could be a fun way to explore generative patterns, using randomness from real life. You can also color these patterns afterwards, by filling in certain areas. There are so many ways to create colorful 3d cubes from a simple sheet of paper, and I am looking forward to what you create!
You could use this page for a very minimalist 'coin toss'. It will display one of two options at random on every click, or hitting enter or space bar.
Triangle Subdivisions
On this page, you can generate triangle subdivisions in several layers. This tool is less user friendly and less documented. However, you are free to try and explore how it works. It can definitely generate beautiful and colorful patterns!
When downloading, a different SVG file will be downloaded for each layer that is selected (each checkbox next to the color represents a layer). The first layer is the outline, and you can deselect the checkbox for each layer if you don't want to use it. The other layers are the subdivision patterns from different iterations. Only the latest 5 iterations of subdivision, the most detailed, will be drawn. You can choose different colors, either manually, or trying 'random colors' until you find a nice variation.
Notes on plotting and printing
I use an AxiDraw plotter, and every SVG file I mentioned here can be plotted by that machine using their axicli software. In general, InkScape is the recommended software to load such SVG files, and modify / scale them as you wish. You can even export the SVG file there to pdf, in case your regular printer does not like the SVG.
I am happy to receive feedback, maybe I can make the SVG file more printer friendly by making a simple change (like adding a single header to the file). Please let me know if you have any suggestion to make the plotting or printing more accessible, and I will update this article.
Bonus: make a little organizer

When taking one side of the Jackson cube, you can change the flaps in such way that they become the sides of a little box. See the image below for clarity. I recommend using glue to nicely keep the flaps in place. For this example, I used staples.
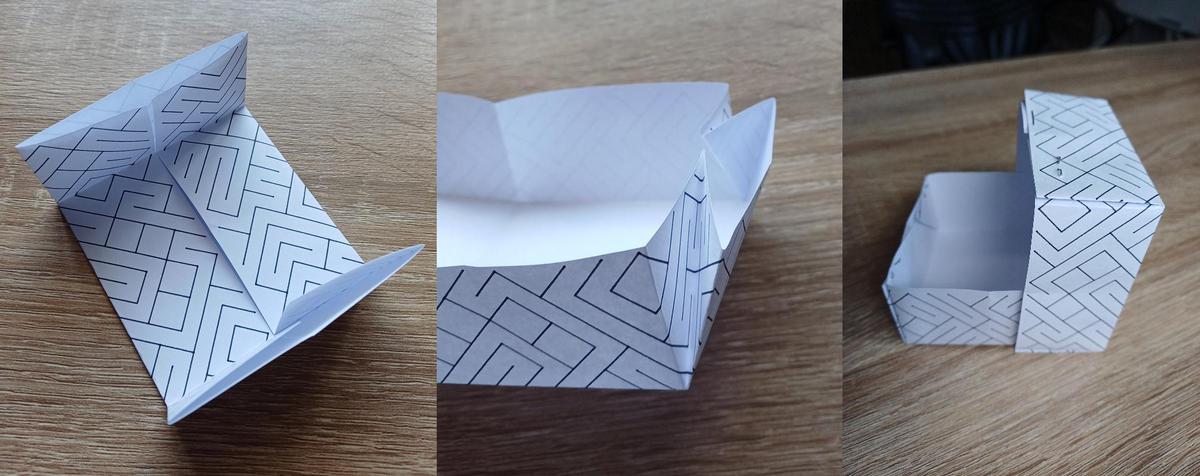
Now you have a little box that can be used as an organizer for small parts, for example in a drawer. If you make two of these, one can be the box, and the other one the lid. Since paper is flexible, you can put the lid over the top. Alternatively, you could make one of the two slightly smaller. For this you probably want to generate the pattern on the full page, so that the sides will be decorated.
Happy folding and happy plotting!
If this inspired you to fold, plot or create Jackson Cubes, please let me know by e-mail or via one of the socials that you can find in the footer. I am also looking forward seeing other (seemless) patterns that fit nicely on these cubes.
Some Links
- Beyond the Fold An excellent TED talk by Paul Jackson
- 10PRINT.org A book about a one-line Commodore 64 BASIC program, published in November 2012. See this page for more links to other articles and resources. The book is also available there for free as a PDF.
- One hour talk by Nick Montfort on 10 print, the commodore 64, randomness etc
- Triangle Subdivisions An article that explains how this type of symmetrical triangle subdivisions are made.
- A generative art collection on FXHash where 638 unique variations of Triangle Subdivisions have been minted. Unfortunately, you cannot exactly recreate a Triangle Subdivision minted on FXHash, as that one has a lot of lines on top of each other, which is not suitable for plotting.